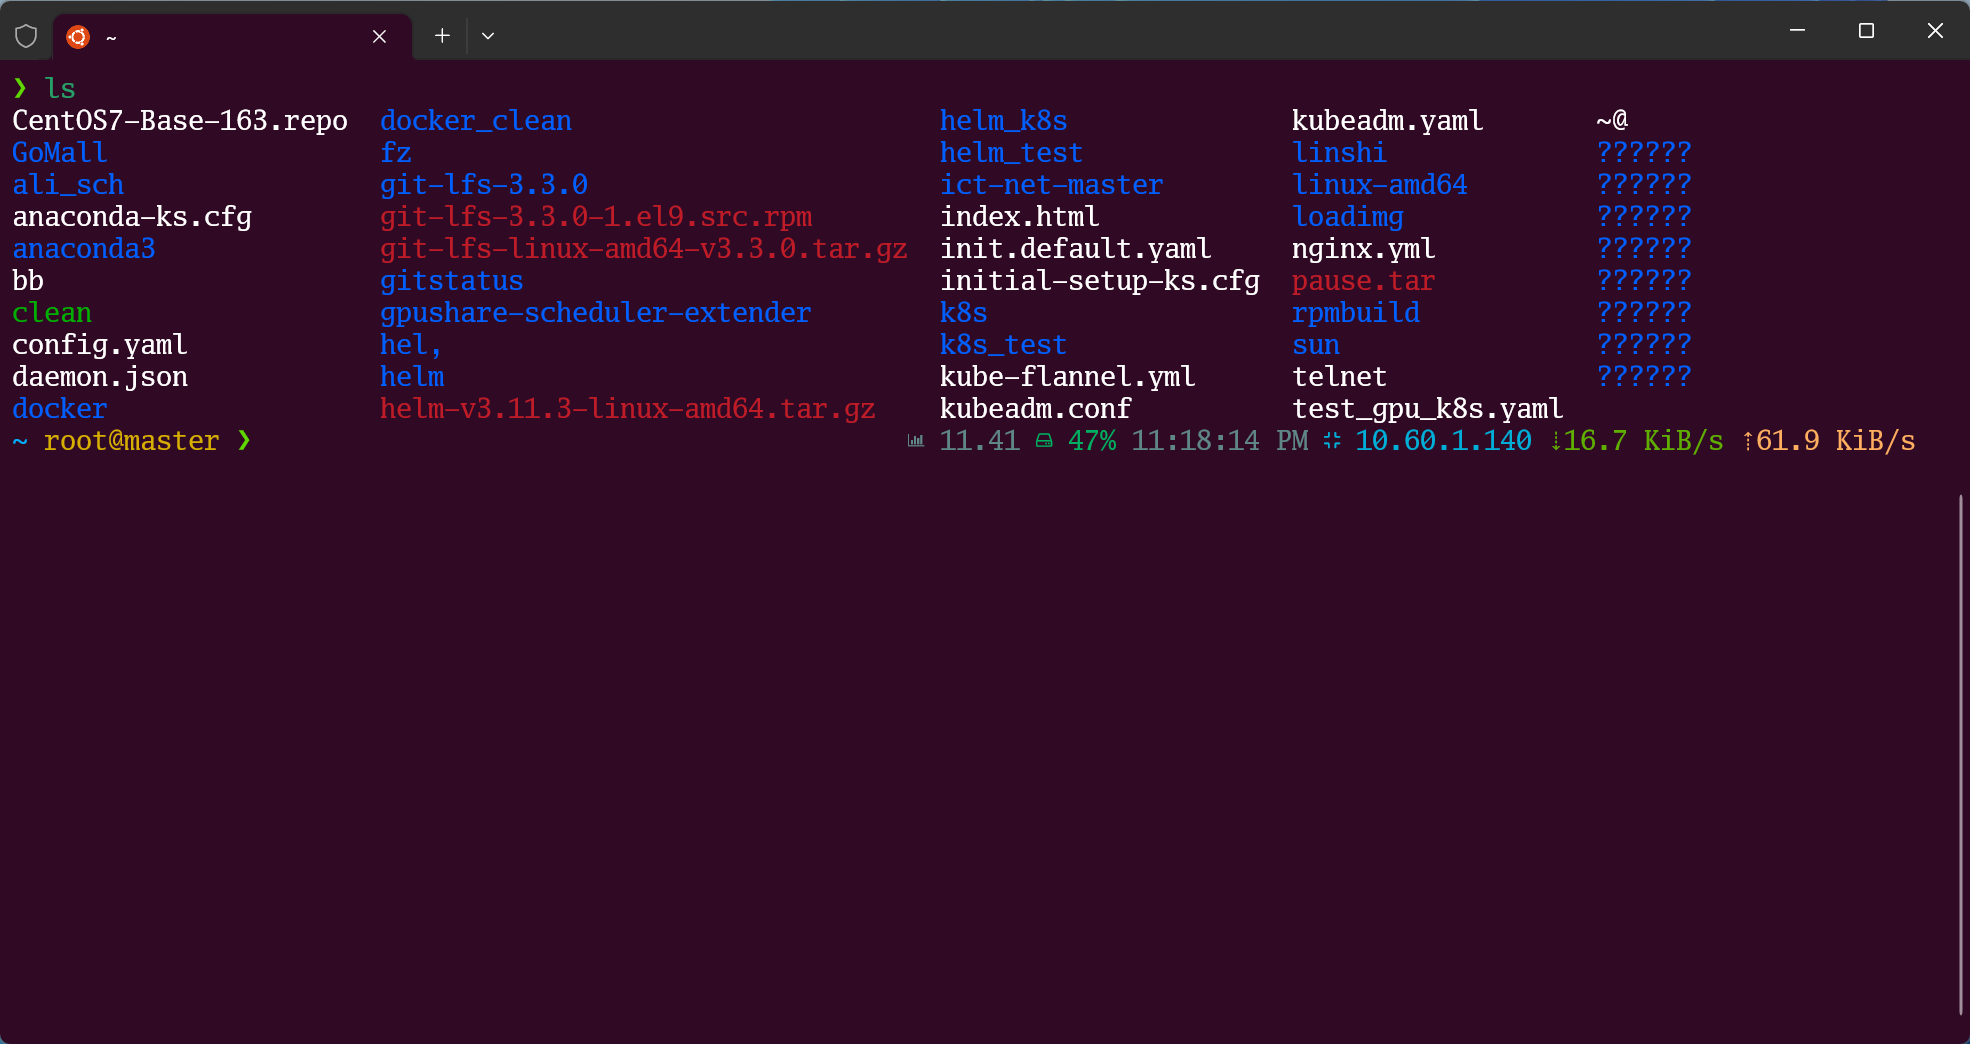
打造花里胡哨的终端
更新 package sudo apt update && sudo apt upgrade
安装 zsh sudo apt install zsh -y
安装 oh-my-zsh wget https://github.com/robbyrussell/oh-my-zsh/raw/
;master/tools/install.sh -O - | zsh || true
安装命令补全和高亮插件 git clone https://github.com/zsh-users/zsh-syntax-highlighting.git ~/.oh-my-zsh/plugins/zsh-syntax-highlightinghttps://github.com/zsh-users/zsh-autosuggestions ~/.oh-my-zsh/plugins/zsh-autosuggestions
将 zsh 设置为默认的 shell chsh -s /bin/zsh
1 git clone --depth=1 https://github.com/romkatv/powerlevel10k.git ${ZSH_CUSTOM:-$HOME /.oh-my-zsh/custom} /themes/powerlevel10k
1 2 3 open ~/.zshrc ZSH_THEME="powerlevel10k/powerlevel 10k"
vim .zshrc
编译安装 zsh 高版本 1 2 3 4 5 6 7 8 9 10 11 wget https://jaist.dl.sourceforge.net/project/zsh/zsh/5.8/zsh-5.8.tar.xz tar xvf zsh-5.8.tar.xz yum install gcc perl-ExtUtils-MakeMaker yum install ncurses-devel cd zsh-5.8 ./configure make && make install vim /etc/shells # 在最后一行加上:/usr/local/bin/zsh
安装 autojump 1 2 3 4 git clone git://github.com/joelthelion/autojump.git ./install.py vim ~/.zshrc [[ -s ~/.autojump/etc/profile.d/autojump.sh ]] && . ~/.autojump/etc/profile.d/autojump.sh
如果有权限不足的问题
最笨的方法
1 2 3 4 # 找到所有的地址 find /-name autojump 2>/dev/null # 全部给他们赋予权限 chmod +x 找到的地址


